Flash Photography: How To Bounce Flash | Bounce Flash Photography Techniques (Tutorial)
Hello photography enthusiasts!
I am Vanessa Joy, a wedding and portrait photographer based in New York and New Jersey. Today, I want to share with you my knowledge and experience on using bounce flash in photography. If you like photography and want to learn more, make sure to hit the subscribe button and turn on notifications so you don't miss out on my future videos.
Bounce flash is a super helpful technique that can be used in any indoor events or areas where direct flash might not provide the most flattering light pattern. In this tutorial, I will show you how to use bounce flash and how to apply the techniques to get the best results.
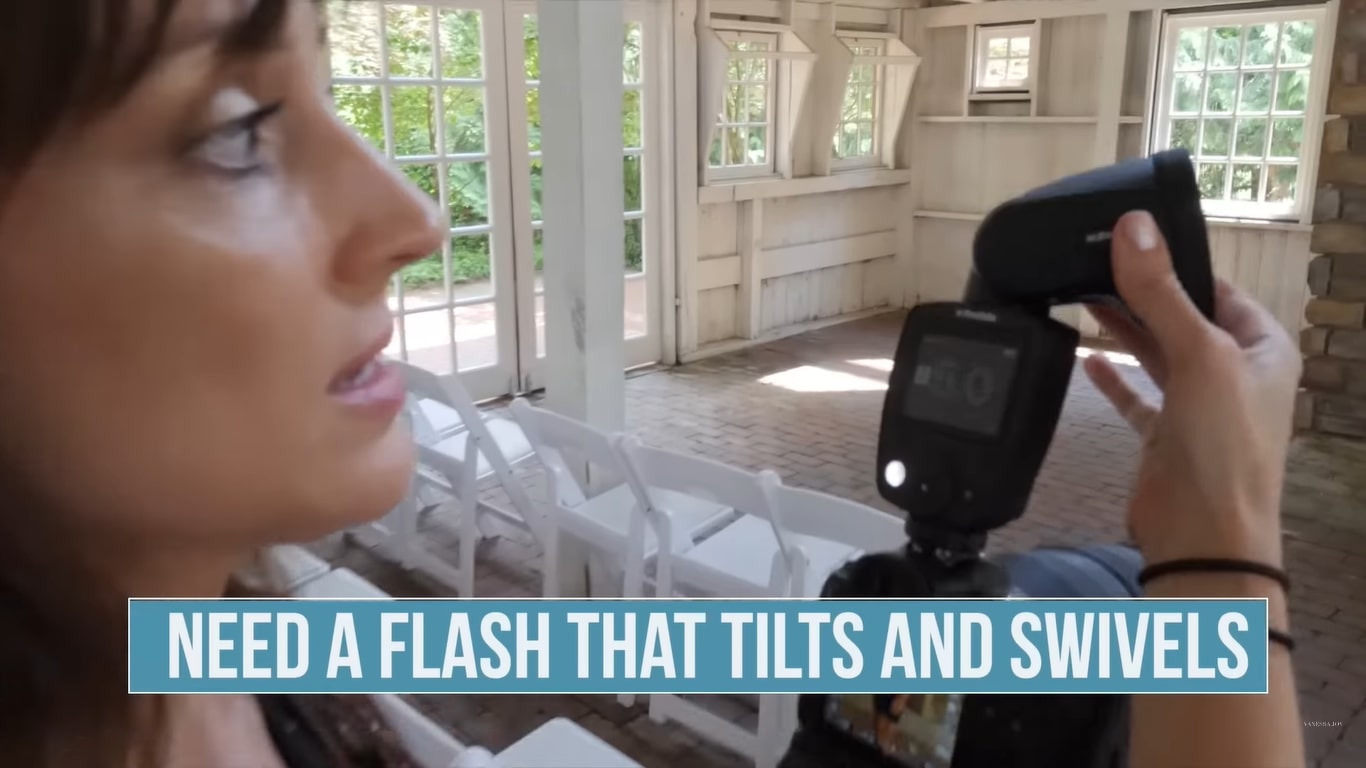
To start, you need a flash that you can control the head of and that tilts and swivels around. The flash I am using in this tutorial is the Profoto A1X, but the concepts I'm teaching you will work with any kind of flash you are using. It's all about where you're pointing the flash, not necessarily what flash you have. However, this technique will not work if you're in a place with dark ceilings or walls.
When it comes to choosing where to point your flash, it's best to have control of a light-colored wall or ceiling. If you only have one light wall or ceiling, always point your flash at it, no matter where you're standing or where your subject is. On the other hand, if you have more than one light wall or ceiling, you'll have to plan it out and choose which one to use depending on the direction your subject is facing.
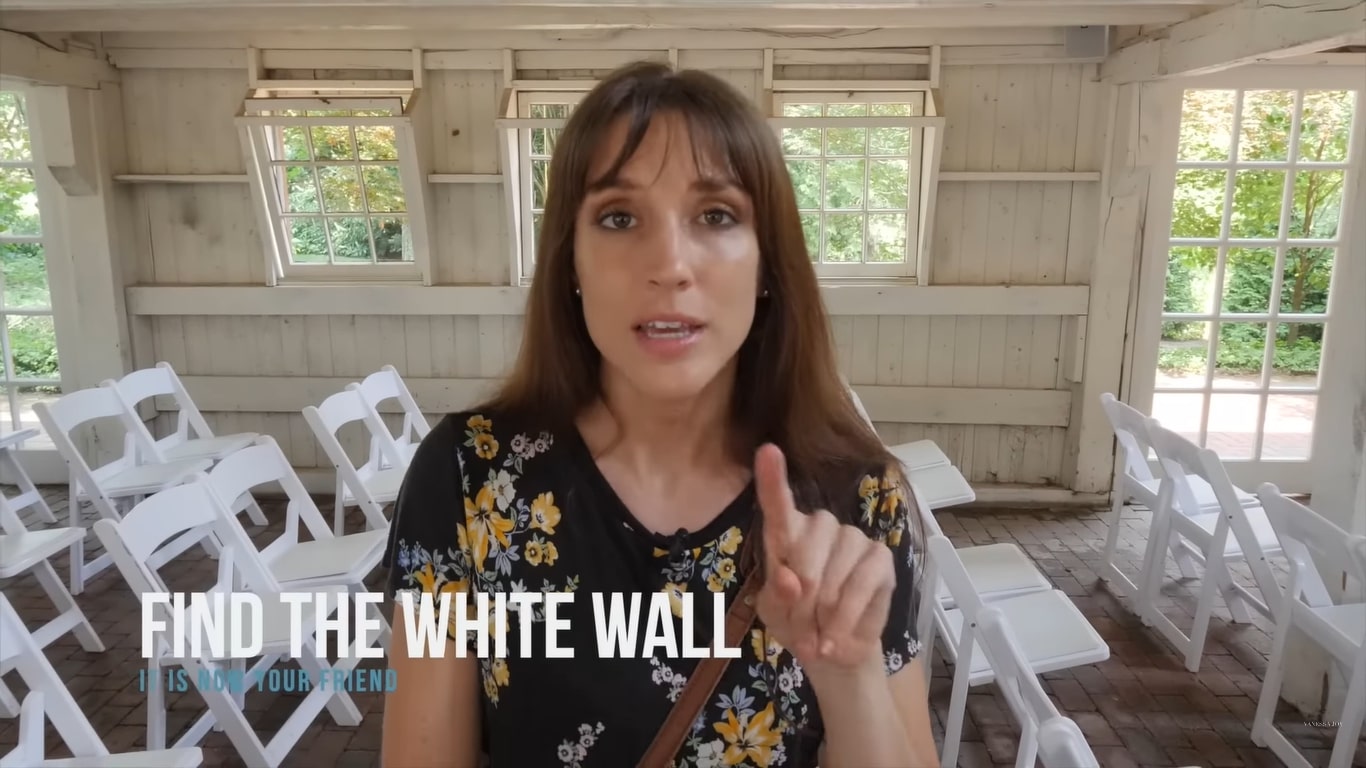
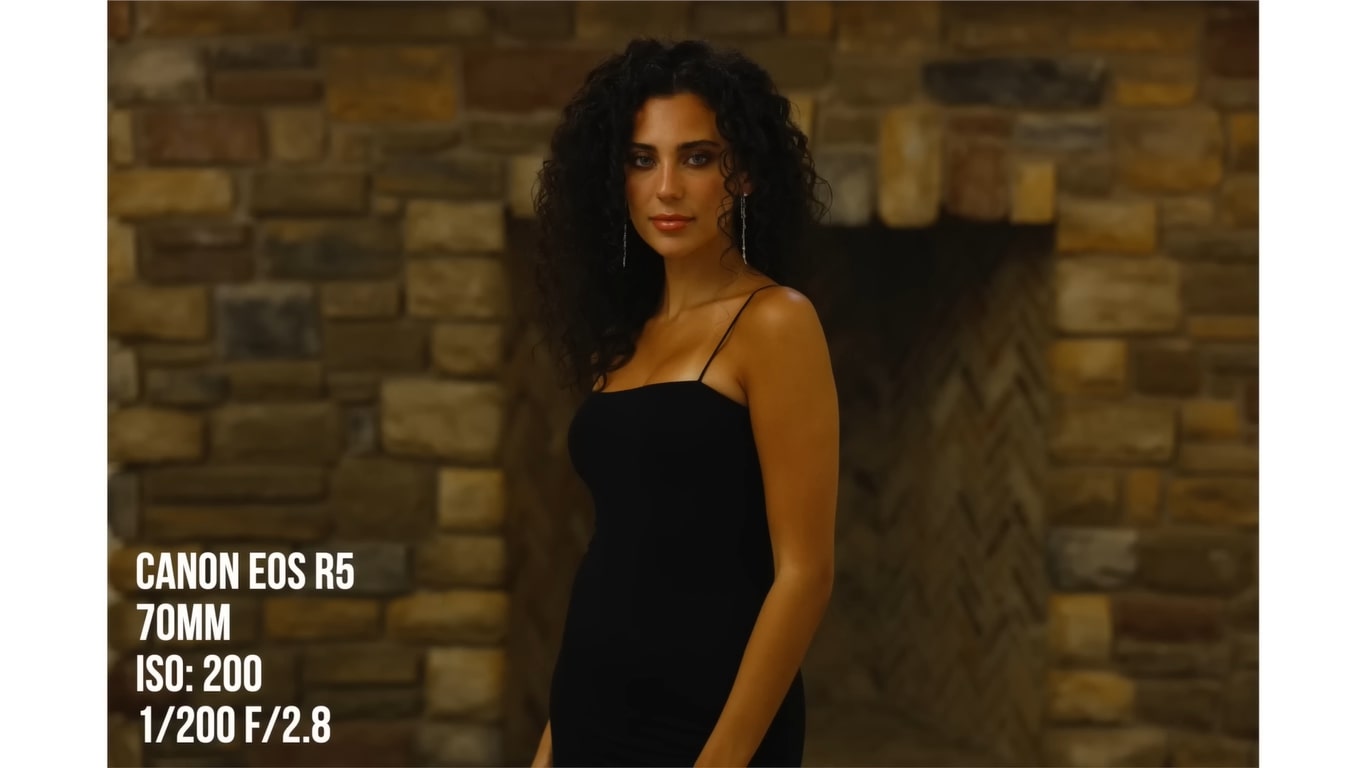
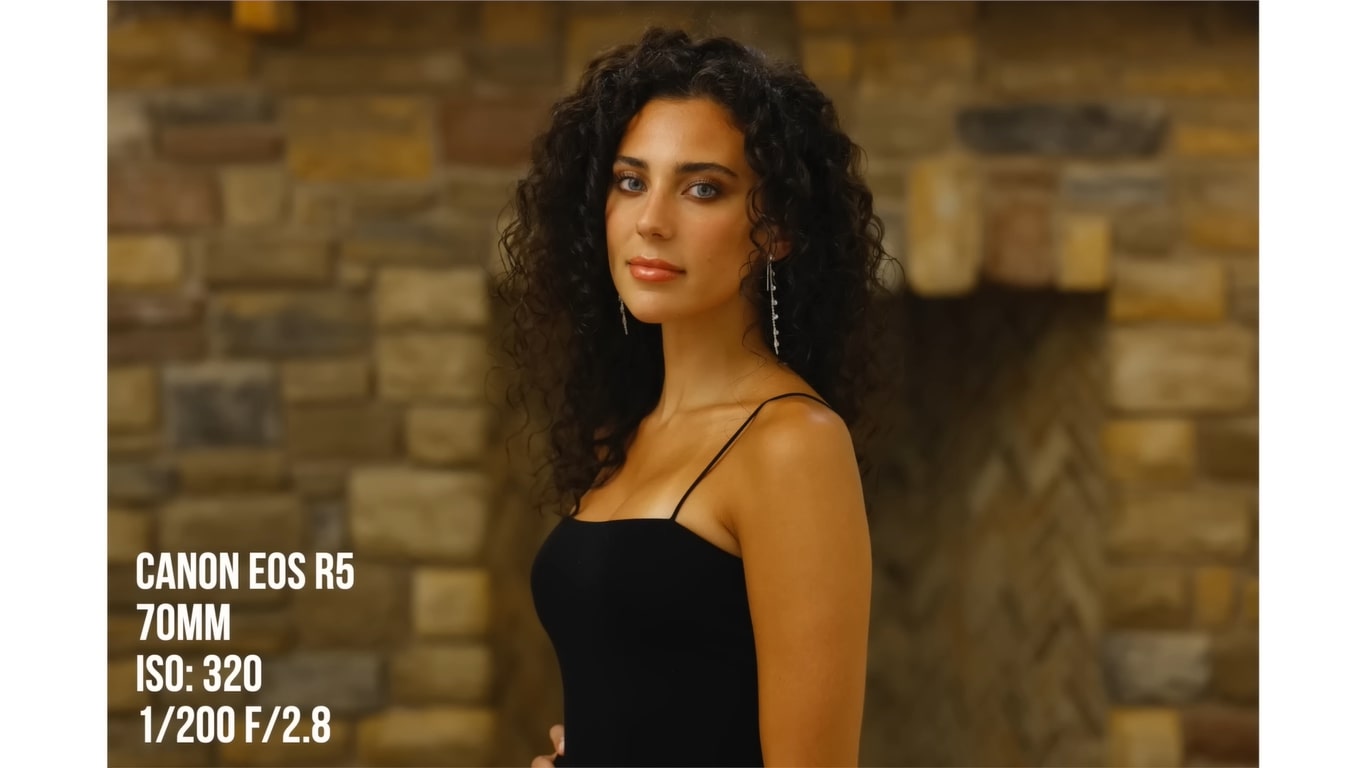
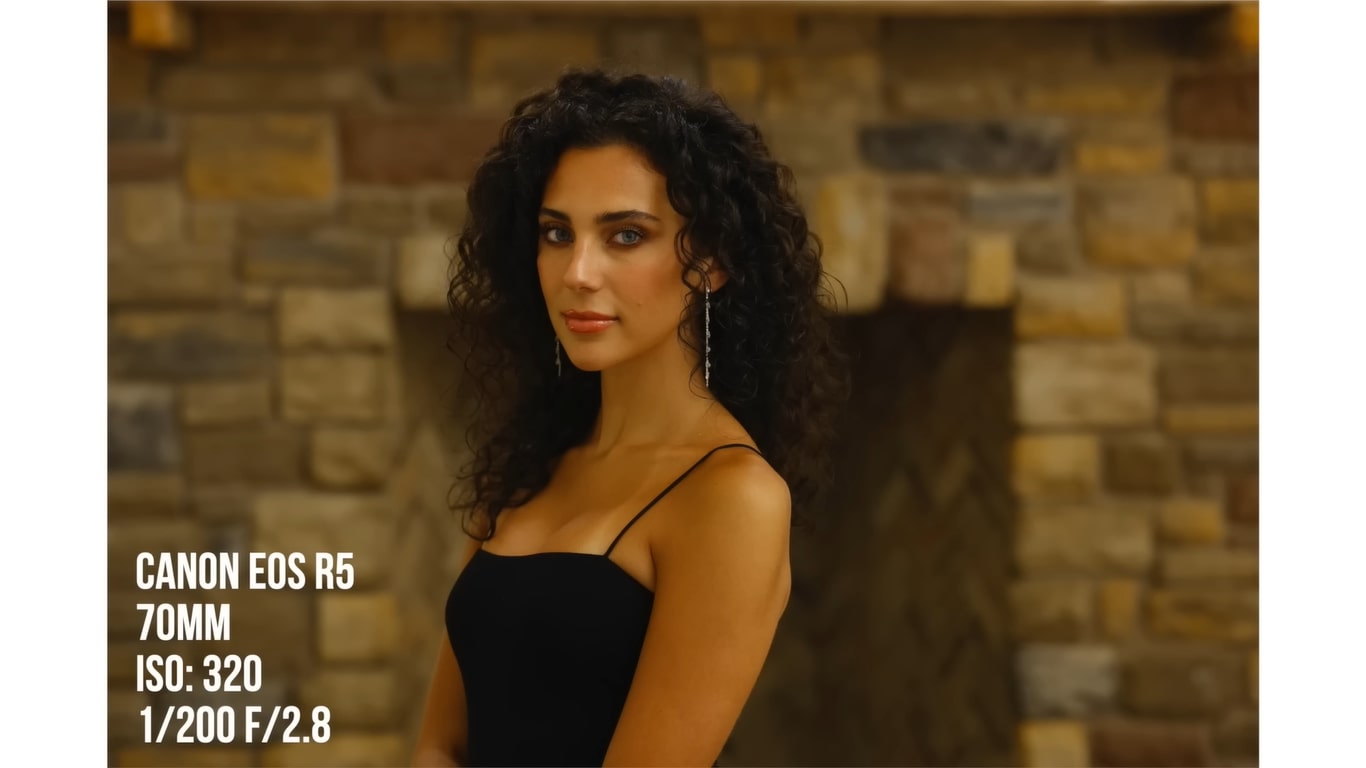
To get started, I like to have my flash set to TTL (through-the-lens) mode. This allows the flash to do the work for me and reevaluate how bright it needs to be as I move around constantly. I also like to have a lower ISO and a higher camera sync speed to allow some ambient light into the room and freeze the action.
Once you get your base exposure, turn on your flash and adjust your settings to get the desired look you want. For example, at a wedding reception, I usually have an ISO between 1600 and 2000, an aperture of 2.5, and a sync speed of 200th of a second.
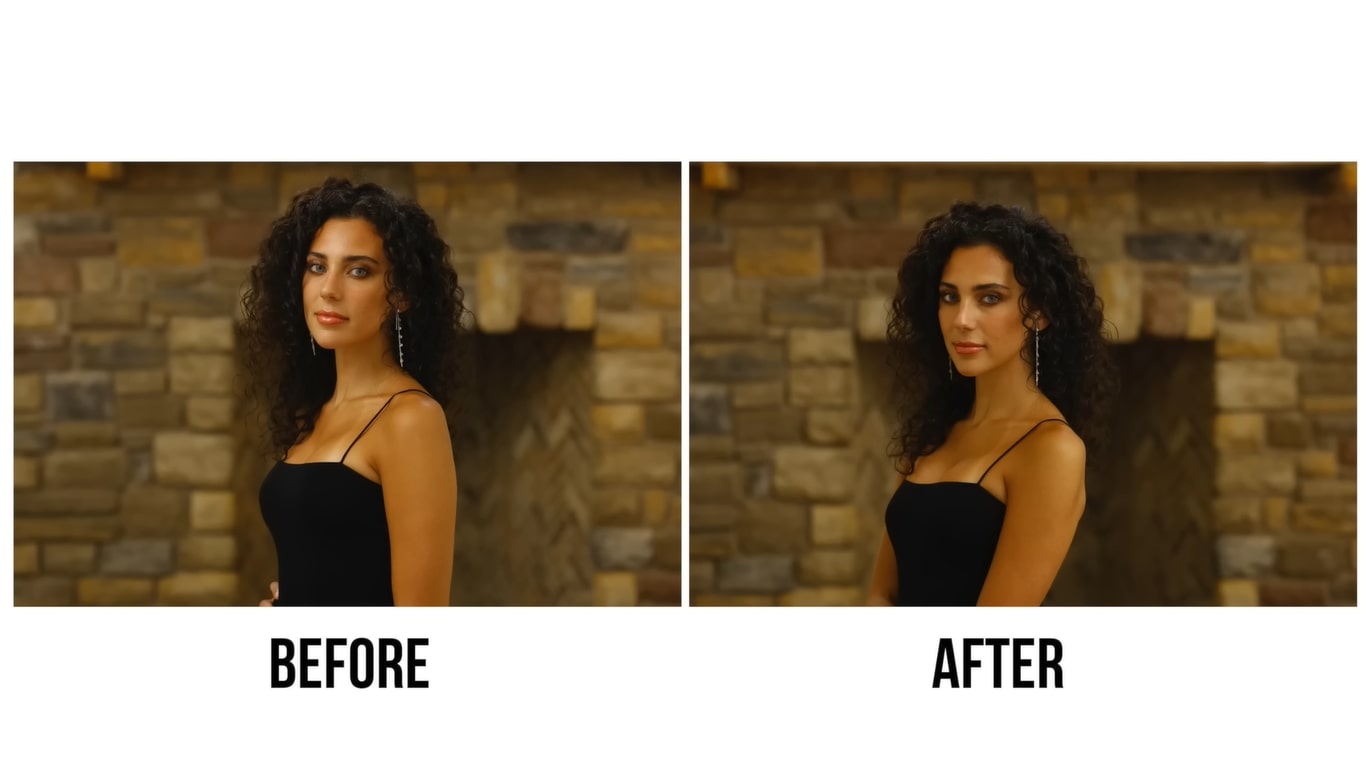
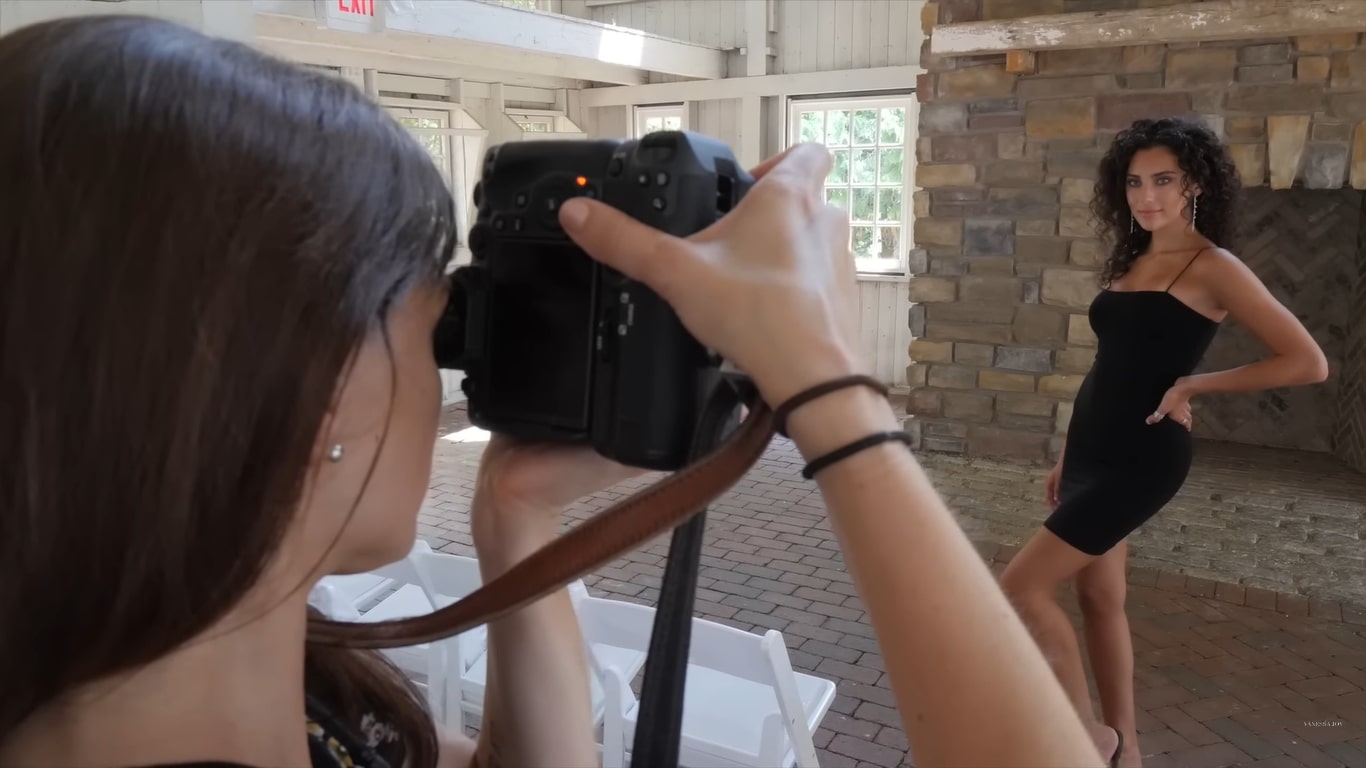
In this tutorial, I also demonstrate how to use bounce flash by having my model, Juliana, face different directions and point my flash in the appropriate direction. This is a game of moving your flash around and finding the right light pattern on your subject's face.
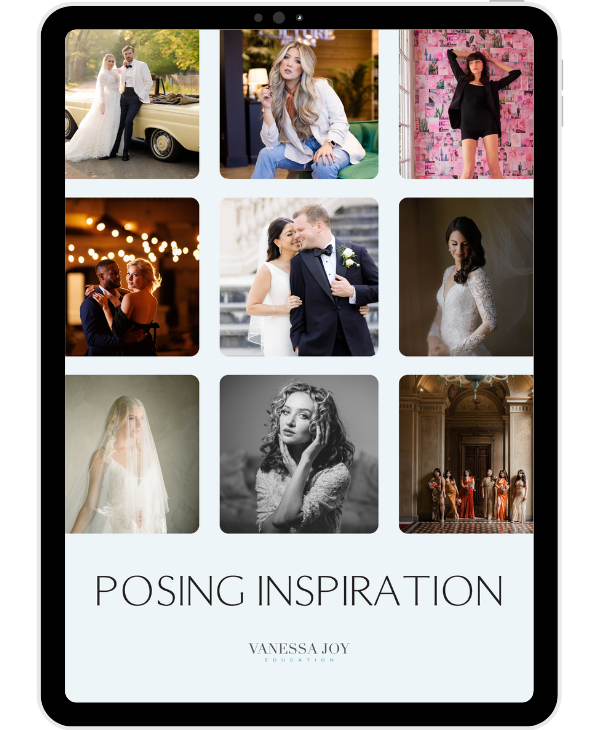
If you want to learn more, don't forget to download my free posing inspiration guide by clicking the link in the description below. Whether you're shooting portraits, events, or anything in between, bounce flash is a technique you don't want to miss out on.
I hope you found this tutorial helpful and informative. If you have any questions, feel free to ask in the comments section. And as always, happy shooting!
Are you ready to stop guessing and start growing your photography business with proven strategies?
My Mastermind program is designed for photographers who want to scale, find freedom, and build a business they truly love. Inside, you’ll get personalized coaching, step-by-step guidance, and the community support you need to thrive.
See if it’s the right fit for you: https://www.breatheyourpassion.com/photo-insiders-mastermind-optin

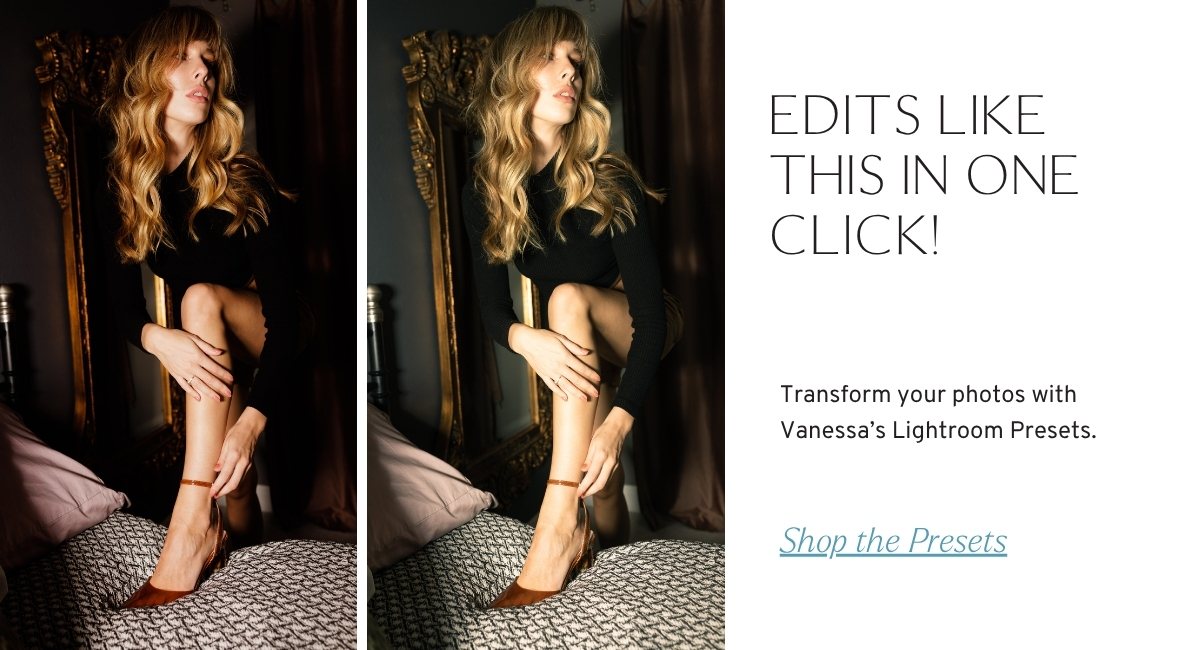
Want my Lightroom Presets? Here's your way to the shop: https://vanessajoy.samcart.com/products/the-complete-editing-bundle
