Master Your Canon EOS R7 with this Exclusive Quick Start Guide | Auto Focus Setup Included!

Hey there, fellow photography enthusiasts! Today, I want to share with you a comprehensive guide to quickly get acquainted with your Canon EOS R7. As we embark on this journey together, I'll walk you through the various buttons, essential settings, and menu options that will pave the way for incredible shots. So, grab a cup of coffee, sit back, and let's dive into the world of photography with your new companion!

Getting Familiar with the Buttons: Let's start by familiarizing ourselves with the essential buttons on your Canon EOS R7. Upon glancing at the device, you'll notice the play button, which allows you to review your captured photos. Use the adjacent navigation buttons to scroll through different images and delete any unwanted ones. Additionally, there's a handy zoom functionality to check focus by magnifying specific areas. The main dials, located near the screen, enable you to navigate menus and adjust settings effortlessly.
Camera Modes and Shooting Options: Understanding the different shooting modes is crucial for capturing the perfect shot. The Canon EOS R7 offers manual, aperture priority, shutter priority, program, and auto modes. Depending on your expertise and shooting scenario, you can choose the most suitable mode for your needs. For beginners, auto mode can be a great starting point, as it optimizes settings for you. There's also a dedicated movie mode for video recording.
To control the ISO on your Canon EOS R7, an essential setting for managing light sensitivity, use the dedicated ISO button and the thumb dial to adjust it according to your requirements. The shutter button, located on the top of the camera, is used to capture photos, while the red button serves as the record button for videos.


Exploring the Menu: The Canon EOS R7's menu is where you'll find a plethora of customization options and additional functionalities. Thankfully, this camera includes a user-friendly walk-through menu, making it easier for beginners to navigate. To access specific settings, tap on the screen and explore the provided explanations.
Setting Up Focus and Focusing Modes: Achieving sharp focus is crucial for creating stunning photographs. By default, the camera uses front button focus, which focuses on the subject when you press the shutter button halfway. You can adjust the focus point by tapping on the desired area of the screen. For subjects in motion, the servo autofocus mode tracks them continuously, ensuring they remain in focus.
Shooting in RAW or JPEG: Deciding whether to shoot in RAW, JPEG, or both is a personal choice that depends on your post-processing preferences and storage capacity. In the Canon EOS R7's menu, you can select your preferred JPEG settings and choose to shoot only in JPEG, or you can enable raw capture alongside JPEG. RAW files offer more flexibility in post-processing, while JPEGs are compressed and ready for immediate use.
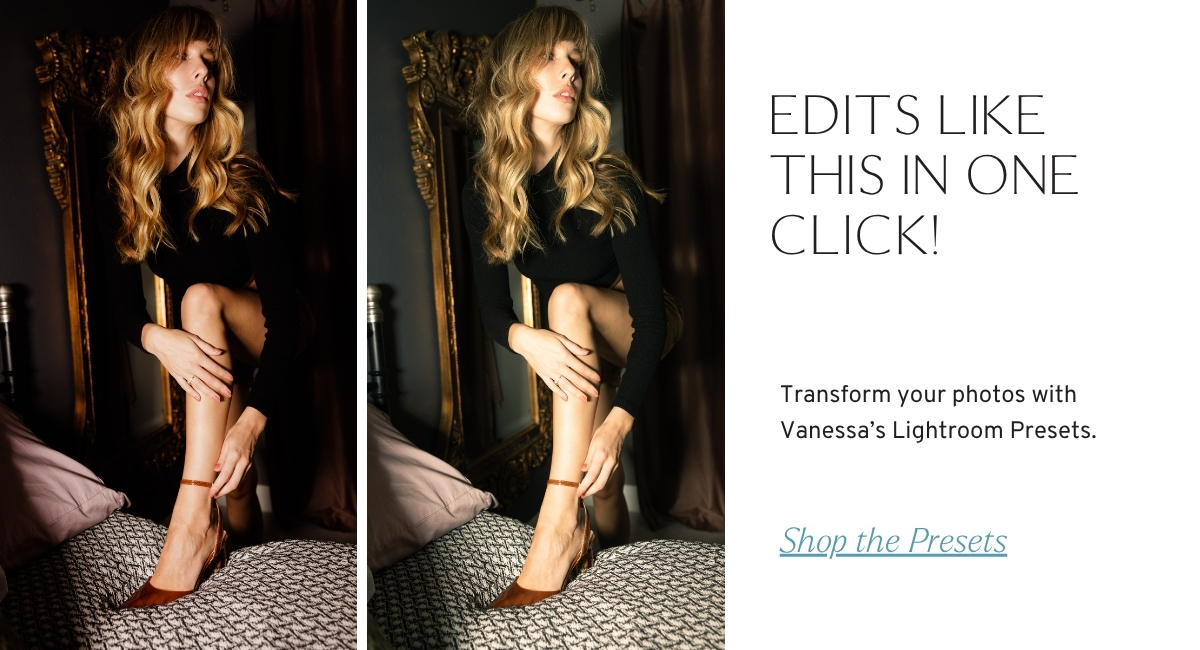
Making the Most of Post-Processing: After capturing your images, the post-processing stage allows you to enhance and refine your photographs further. If you're using Adobe Lightroom or a similar editing software, you can explore different presets to achieve the desired look and feel. Presets can be an excellent starting point and can be customized based on your artistic vision. Adjusting clarity, exposure, and applying filters can transform your photos and give them a unique style.


Finalizing Important Settings: Before wrapping up, let's quickly address a few additional settings that can elevate your photography experience. The drive mode determines how your camera captures multiple shots, allowing you to select between single shooting and continuous shooting for fast-paced subjects. Timer modes provide flexibility for self-portraits or group photos.
Metering modes play a significant role in achieving accurate exposure. The spot metering mode is particularly useful when working with aperture priority or flash photography, as it focuses on a specific.
Are you ready to stop guessing and start growing your photography business with proven strategies?
My Mastermind program is designed for photographers who want to scale, find freedom, and build a business they truly love. Inside, you’ll get personalized coaching, step-by-step guidance, and the community support you need to thrive.
See if it’s the right fit for you: https://www.breatheyourpassion.com/photo-insiders-mastermind-optin

Want my Lightroom Presets? Here's your way to the shop: https://vanessajoy.samcart.com/products/the-complete-editing-bundle


