One-Light Headshot Photography Lighting Setup

Hey there, I'm Vanessa Joy, a wedding and portrait photographer and a proud Canon explorer of light. Today, I'm excited to share with you my go-to setup for creating clean and captivating commercial headshots with just one light. If you're looking to achieve that professional white background look without much fuss, then you're in the right place! Let's dive into my one-light headshot setup and all the tips and tricks to make it a success.

The key to getting the lighting right for headshots is all about distance. You want to ensure enough space between your subject, the background, and the light source. This is where the inverse square law comes into play, but don't worry if you're not familiar with it – a quick Google search will do the trick!


To achieve a flattering and clean commercial look, a soft light source is essential. I personally love working with a big light relative to my subject, so I use the Profoto Deep Umbrella, a translucent shoot-through umbrella, with an extra-large size and a diffuser for that beautiful soft light effect.


Here's what my one-light headshot setup involves: the powerful Profoto B10 light, set at around eight or nine, positioned at a significant distance from both the subject and the background. Alongside the ambient light coming through a nearby window, this combination creates stunning results.
For lenses, I recommend using an 85mm or longer focal length to enhance the overall flattering effect on your subject's face. In my case, I love working with the Canon RF 85mm 1.2 lens – it works wonders for headshots!


Now, when it comes to camera settings, I prefer an aperture of f/2.5 to focus solely on the eyes and achieve that pleasing bokeh effect. To minimize ambient light interference, I set the shutter speed at 1/200 of a second and keep the ISO at a low value like 320.
Mixing ambient light with flash can be tricky, but it's crucial to ensure color consistency. I keep my flash temperature at 5,600 Kelvin, matching it with daylight, and turn off any other artificial lights in the room to avoid unwanted color mixing.
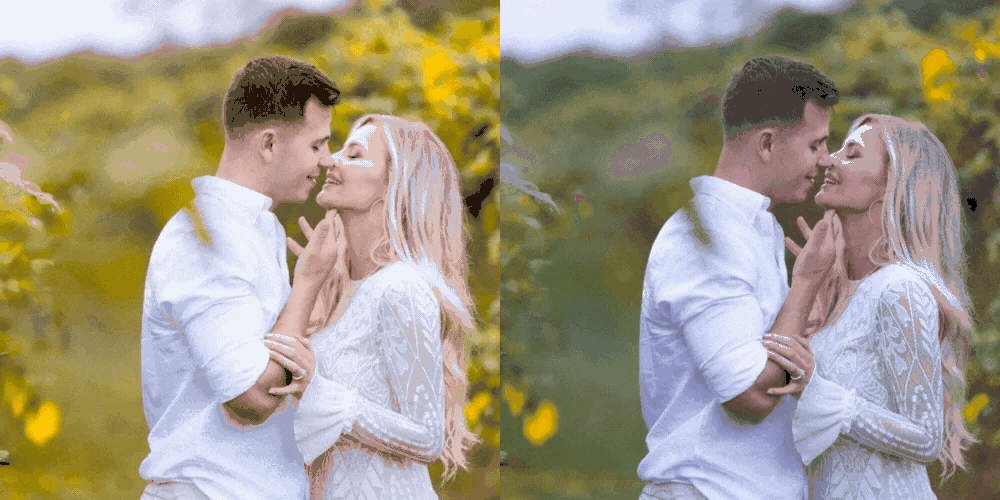
As for the background, my goal is to get it as close to pure white as possible. While it's challenging to achieve absolute perfection based on the inverse square law, I use a handy retouching program called EVOTO to tweak and adjust the background to get that clean, professional look.


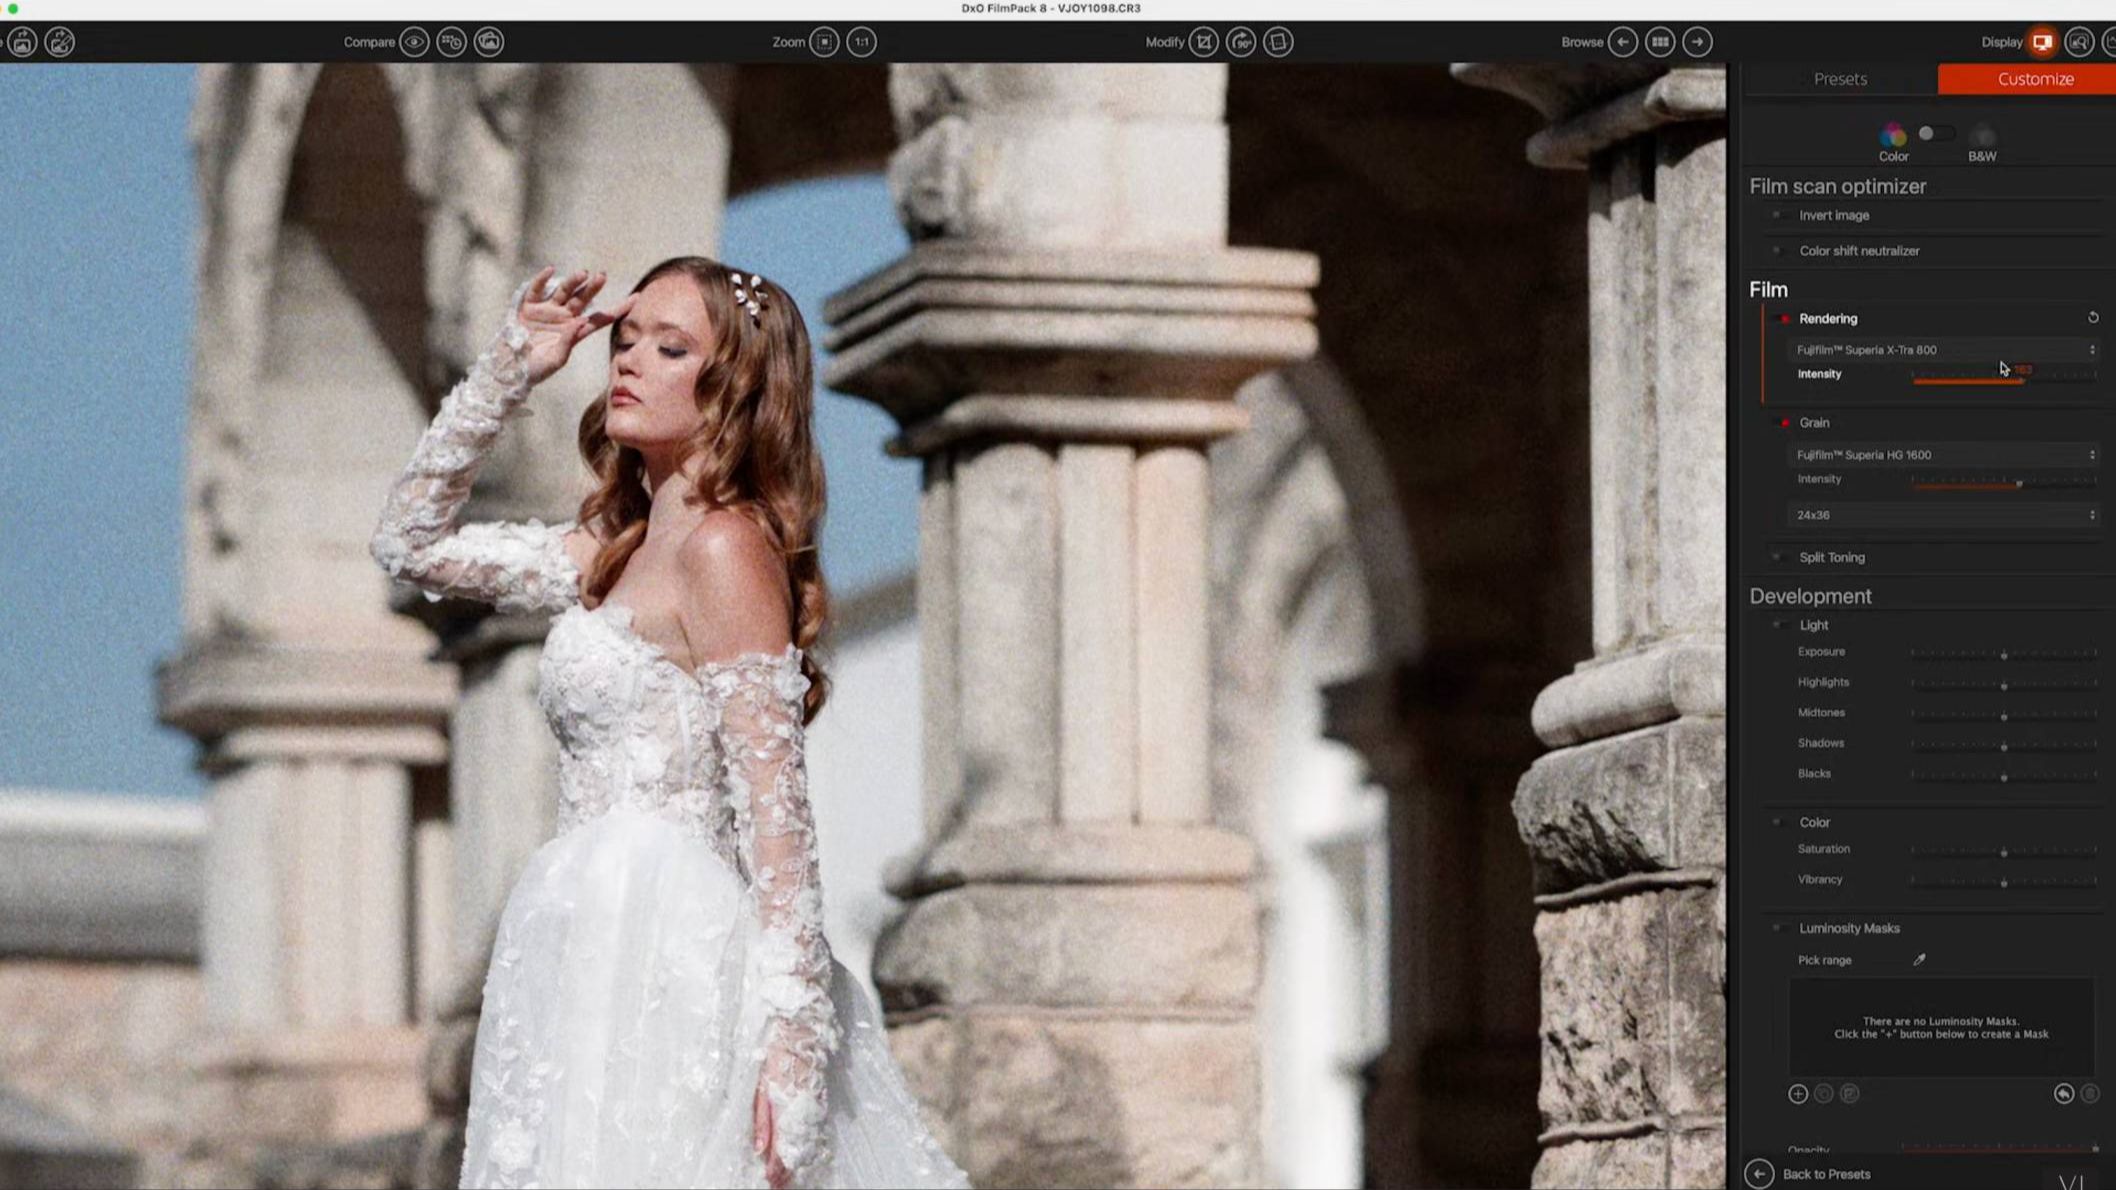
EVOTO is a game-changer when it comes to retouching. It's not just for individual photos but also great for batch editing and group retouching. With its powerful presets and AI capabilities, I can quickly achieve consistent results across a set of photos.
And the best part? If I need a super stark white background, EVOTO has an excellent background retouching feature that recognizes the white background and transforms it to perfection.
Remember, moderation is key when retouching. You want to enhance your subject's features naturally without going overboard. Let their true beauty shine through!
To sum it all up, my one-light headshot setup involves positioning the light source, subject, and background strategically for the best results. The soft light, combined with the proper camera settings, ensures a flattering and professional look. And with EVOTO, achieving that perfect clean background is a breeze.
I hope you enjoyed this guide to my one-light headshot setup! If you found it helpful, don't forget to hit the like button, subscribe to my channel, and ring the bell to stay updated with more photography tips and tricks. Feel free to reach out if you have any questions or want to share your own experiences.
Thanks for tuning in, and until next time – happy shooting!
Are you ready to stop guessing and start growing your photography business with proven strategies?
My Mastermind program is designed for photographers who want to scale, find freedom, and build a business they truly love. Inside, you’ll get personalized coaching, step-by-step guidance, and the community support you need to thrive.
See if it’s the right fit for you: https://www.breatheyourpassion.com/photo-insiders-mastermind-optin

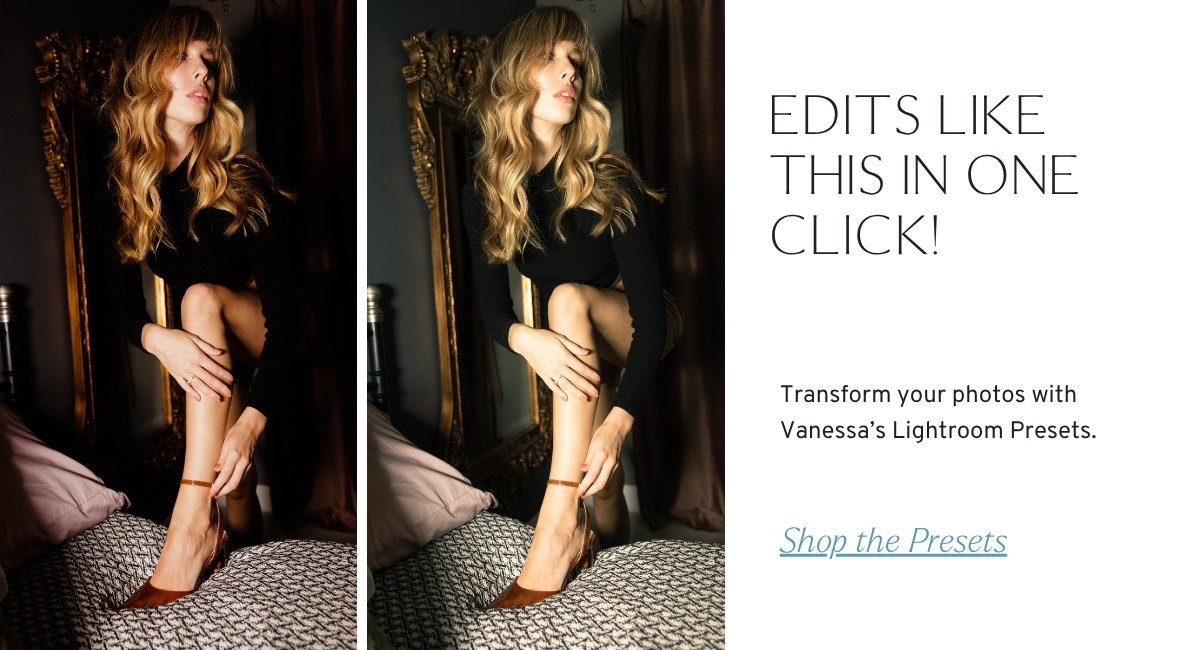
Want my Lightroom Presets? Here's your way to the shop: https://vanessajoy.samcart.com/products/the-complete-editing-bundle
