Canon R10 QUICK START Guide with Autofocus Settings for Beginners

As a professional photographer, I'm always excited to share my tips and tricks for using cameras. Today, I'm going to show you a Canon R10 quick start guide.
Firstly, let's discuss the display of a camera. The display of a camera has many functions, and it's essential to know how to use it. By tapping the info button, you can toggle the display and view the settings, histograms, or the clean display. While playing the picture, you can tap the magnifying glass button to zoom in and out. If you prefer, you can click, drag, and tap around the touch screen instead of using the button. To delete a photo, tap below, and then hit erase.


Next, let's take a look at the buttons. The quick-tap buttons are located at the bottom of the display. Hitting the ISO button will pop up the ISO options, and you can use the dial to choose the settings you want. If you decide to have the flash on, you can use the flash button or lift up your pop-up flash from the top. This camera has a pop-up flash and will automatically flash if you're in some kind of auto mode. On the left side of the camera, you can set your timer for two or ten seconds or choose continuous shooting, the one with the timer and a "c." If you're taking photos of yourself, you can set it to take a photo every couple of seconds so that you can get a variety.


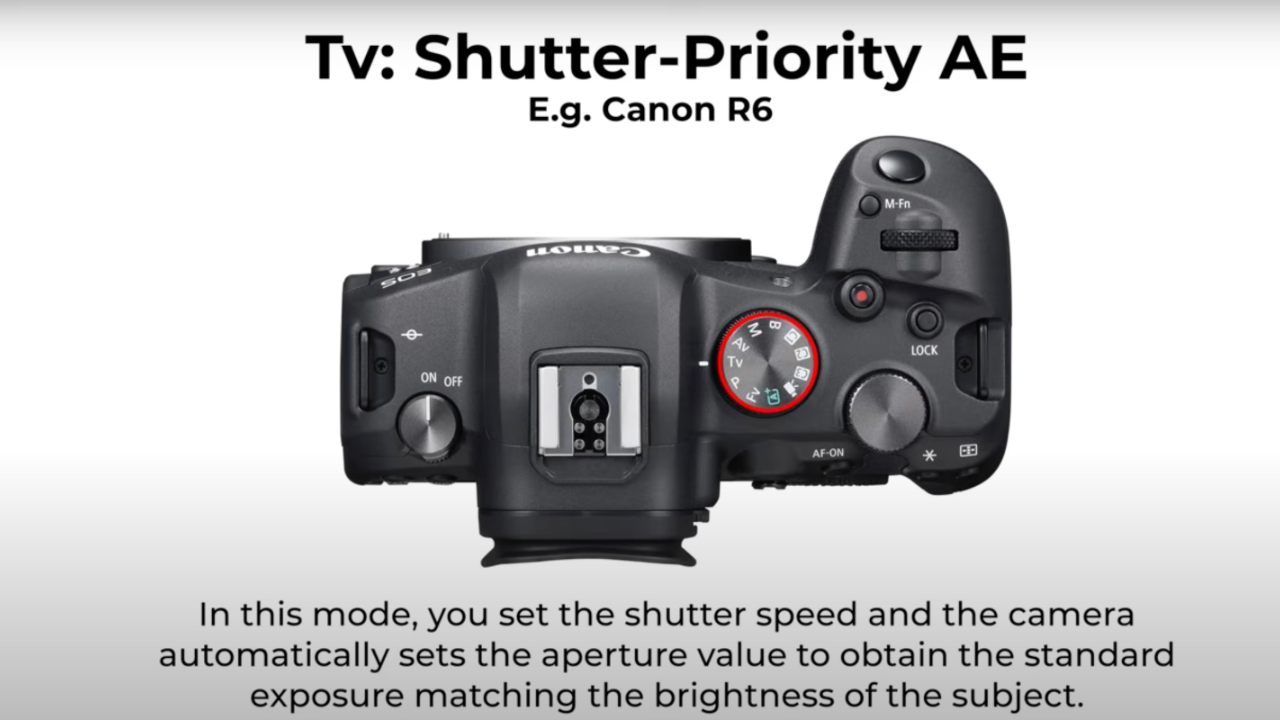
Now, let's discuss the top of the camera. Obviously, there's an on and off button, and the shutter button up there is how you take a picture. Hold it halfway down to focus, and press it fully to take the picture. The video record button is for recording videos, and the dial of modes will let you switch between different modes. For instance, the R10 is more of a beginner camera, so it's doing a great job just going in auto mode. However, there are other modes that you can explore. When you change your modes, a menu pops up that walks you through the features, explaining what each mode does. It's a nice feature, especially if this is a new camera for you.

Now, let's talk about my favorite button on the display, the Q button. The Q button is the quick menu for all the basic functionality that you'll likely need. For instance, you can change the autofocus settings, from the automatic eye-head face detection to one-point autofocus or spot autofocus. I prefer spot autofocus. You can tap and hold the Q button to customize the functions and settings you want to show up on the quick menu.
Lastly, I'd like to talk about Squarespace, a platform that I've been using for over a decade. Squarespace is an all-in-one platform for building your brand and growing your business online. It's one of the easiest ways to make a website. Squarespace isn't just for creating a website; it's also about making money. You can sell anything from products to the content you create and even your time. It has a beautiful gallery that highlights your photography portfolio, and it can host your video content too. In addition, it can help you monetize your art or your expertise by having online scheduling built right into your website to sell things like mentoring sessions or critiques. If you're interested in Squarespace, use my exclusive 10% discount code on your first domain.
In conclusion, knowing the basic functionality of your camera is essential, and the display and buttons are crucial aspects of using a camera. I hope that this video gave you some helpful tips and tricks to enhance your photography skills.


