Quick Guide to Color Calibration for Monitors | Spyder X2 Ultra versus Spyder X2 Elite

Hey, everyone! It's Vanessa Joy, your portrait photographer here. Today, I want to talk to you about two amazing new products that I've recently come across: the Spyder X2 Ultra and the Spyder X2 Elite by Datacolor. These tools are absolute game-changers when it comes to color calibration for monitors.

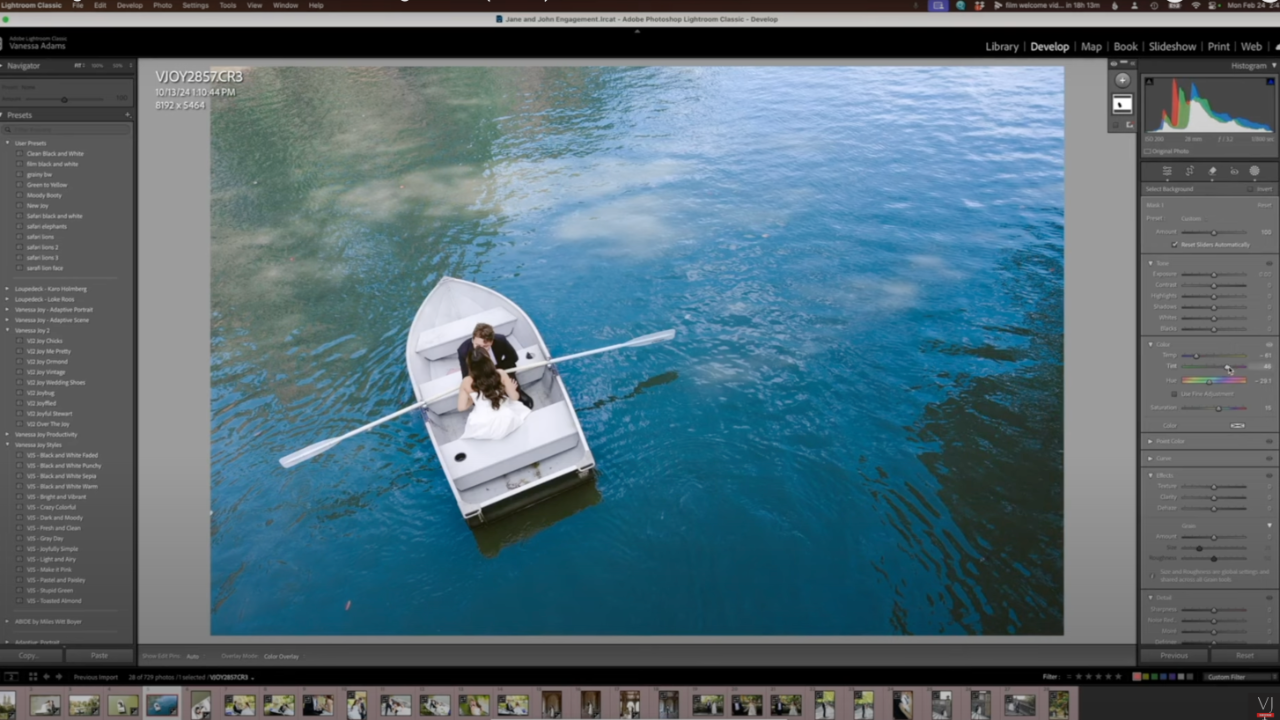
For those of you who might not be familiar with monitor calibration, let me break it down for you. Essentially, these tools calculate the color output from your monitor, taking into account the ambient light in your workspace. This ensures that your monitor is displaying perfect luminance and color accuracy. Why is this important? Well, imagine editing your precious photos on a monitor that's giving you an incorrect color representation—a screen that's too warm or too magenta. Yikes! We definitely don't want that.

Having a properly calibrated monitor makes your editing process so much easier and more accurate. It also ensures that your printed photos turn out exactly the way you intended them to be. As a creative photographer, you know how important it is to have the truest colors possible, and that's where the brand-new Datacolor Spyder X2 comes in.
Speaking from personal experience, using the Spyder X2 Ultra has been an absolute breeze. I didn't even need to read the manual the first time I used it. The software provided by Datacolor is incredibly intuitive and user-friendly. It guided me through the entire calibration process, and I had zero problems calibrating my monitor perfectly.
Let me walk you through the process quickly. The first step is to download and install the brand-new software. It's been updated by Datacolor to be even easier to use. During the setup, the software asks you a few questions about your monitor, and don't worry if you're not sure about the answers. The software provides suggestions and information to help you figure out the best calibration settings for your specific setup.


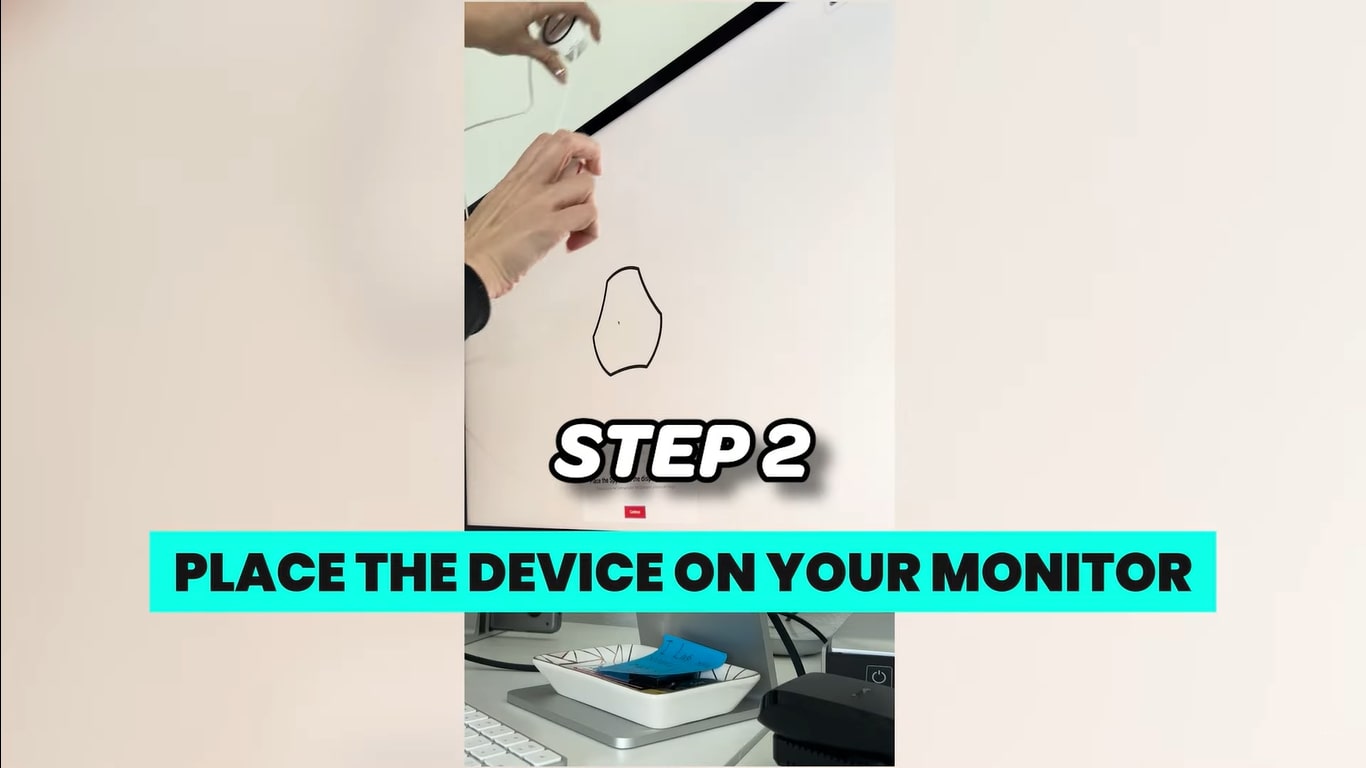
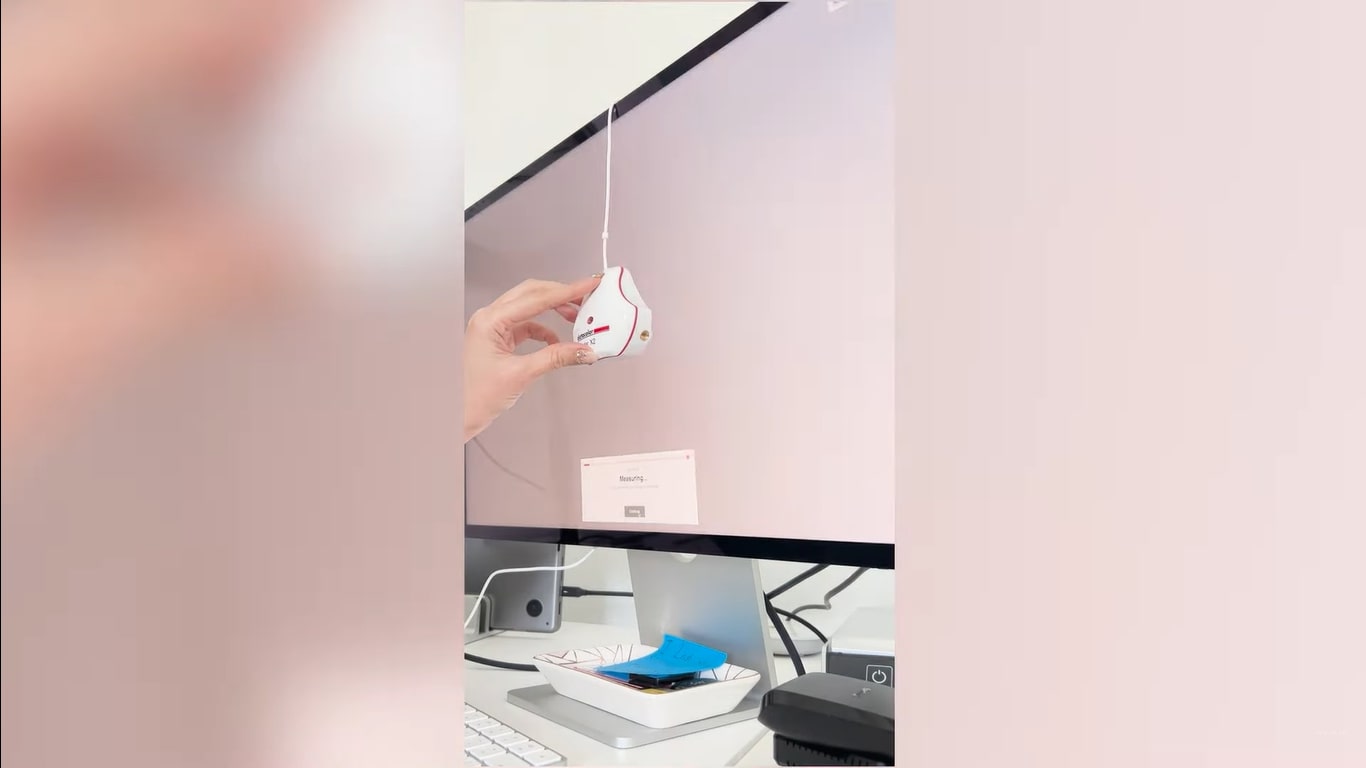
Next, you'll need to place the Spyder device in the designated spot on your computer monitor. It will then take a series of measurements to build that ICC profile and adjust for the brightness of the room you're in. This step is crucial in achieving accurate color representation.


Once all the measurements are completed, simply remove the sensor, and voilà! Your monitor is now perfectly calibrated. Now, here's where it gets really interesting. Take a moment to compare the before and after calibration. Trust me, you'll be amazed at the difference. I know I was. It's incredible to see how far off an uncalibrated monitor can be.
Now, let's talk about the differences between the Spyder X2 Elite and the Spyder X2 Ultra. Both are fantastic options, but they cater to different needs. The Elite is perfect for those of you who work in photo, video, hybrid projects, digital design, or content creation. It's great whether you're just starting out or a seasoned professional.

On the other hand, if you're working with HDR high-brightness monitors ranging from 750 to 2000 CDM or nit, the Spyder X2 Ultra is the one for you. This version is specifically designed to meet the demands of higher-power monitors, ensuring optimal color accuracy.
Now, let me take a moment to talk about Datacolor as a company. They are a fantastic and trusted name in the photography industry. I've been using their tools, like the ColorChecker, for a while now, which helps ensure perfect color balance in my photos. They've been around for ages and have always provided us photographers and videographers with beautiful, consistent colors throughout various cameras and displays.
The Spyder X2 Ultra and Spyder X2 Elite are just another testaments to the quality and reliability that Datacolor brings to the table. These tools are definitely must-haves in any professional photographer's arsenal.


So, make sure you click on the link in the description below to learn more about the Spyder X2 Ultra and Spyder X2 Elite. Take a look at their features and decide which one is the best fit for your needs. And hey, while you're at it, leave a comment and let me know your thoughts on calibration. Is it something you currently do? I'd love to hear from you!
Well, that's it for today, folks. If you enjoyed this video and found it helpful, don't forget to hit that like button, subscribe to my channel, and ring the bell to get notified of future content. Thanks for watching, and I'll catch you next time!


