How to Pose Women | body language SECRETS behind posing women

When it comes to photography, posing is key. It's not just about striking a pose; it's about conveying the right body language and creating a natural and flattering look. In this blog post, I'll share some insights and tips on posing from my personal experience as a photographer. By the end of this post, you'll be amazed at how much you can learn about posing and body language.
To set the scene, let me introduce Juliana, my model for today's shoot. We'll be using the Canon EOS R5 camera with an 85mm 1.2 lens. This lens is stunning, and I'm excited to experiment with shooting at 1.2 aperture. It allows me to capture beautiful focus while maintaining a low ISO.
Before we dive into the posing techniques, let's address a minor issue we encountered during the shoot. Juliana's face had a greenish tint due to the surrounding greenery reflecting onto her. To overcome this, I brought out my Lastolight Bottle Top Reflector, a 48-inch reflector with removable skins. Using a reflector instead of pinpointed lighting gives Juliana more freedom to move while posing.
Now, let's start with the basics of posing. The first and most important step is to make your subject feel comfortable. To achieve this, I usually allow them to move right away. For couples, holding hands and walking works great, but when you're working with an individual, it's a bit different.


I had Juliana slowly walk towards me while looking in various directions—left, right, up, and down. As she moved, I followed her gaze with my camera, capturing her natural movements. This initial step helps break the stiffness and allows the subject to relax.
When posing someone, it's important to consider their body positioning from the bottom up. I usually start by tilting their body and having them point both feet in one direction. Then, I ask them to lean on their back foot and keep their front foot pointed towards me or lifted. These subtle adjustments create a dynamic and visually appealing pose.
Observing and working with the subject's natural cues is essential. If they naturally position their hands or feet in a certain way that looks good, I let them keep that pose. Starting from the ground up, I guide their hips and shoulders to different positions. I ask Juliana to turn her shoulders towards me, creating a more flattering angle. The goal is to create a beautiful S-curve shape with separation between her waist and arms.
Another significant aspect of posing is the positioning of elbows. Believe it or not, the angle of the elbows conveys a lot about body language. A right angle signifies strength, while a straight or obtuse angle gives a more graceful and elegant vibe. By experimenting with elbow placement, you can enhance the overall message of the photo.
Now, let's talk about head positioning. Tilting the head slightly in different directions can create either a feminine or masculine pose. Juliana tilted her head towards her low shoulder, giving a feminine feel, and then tilted it towards her high shoulder for a more masculine look. These subtle adjustments can significantly impact the overall vibe of the photo.


It's essential to understand how different lenses affect posing. The 85mm lens is forgiving, offering a nice compression that doesn't over-accentuate poses. However, when using a wider lens, like the 24-70mm, you need to pay more attention to arm placement and proximity to the lens. Closer body parts will appear larger, so you can use this to your advantage to accentuate or hide certain areas.
Throughout the posing process, it's crucial to keep the subject moving. Encourage them to change positions, play with their hair, or give them something to do. Movement adds life and spontaneity to the photos, making them more engaging and natural.
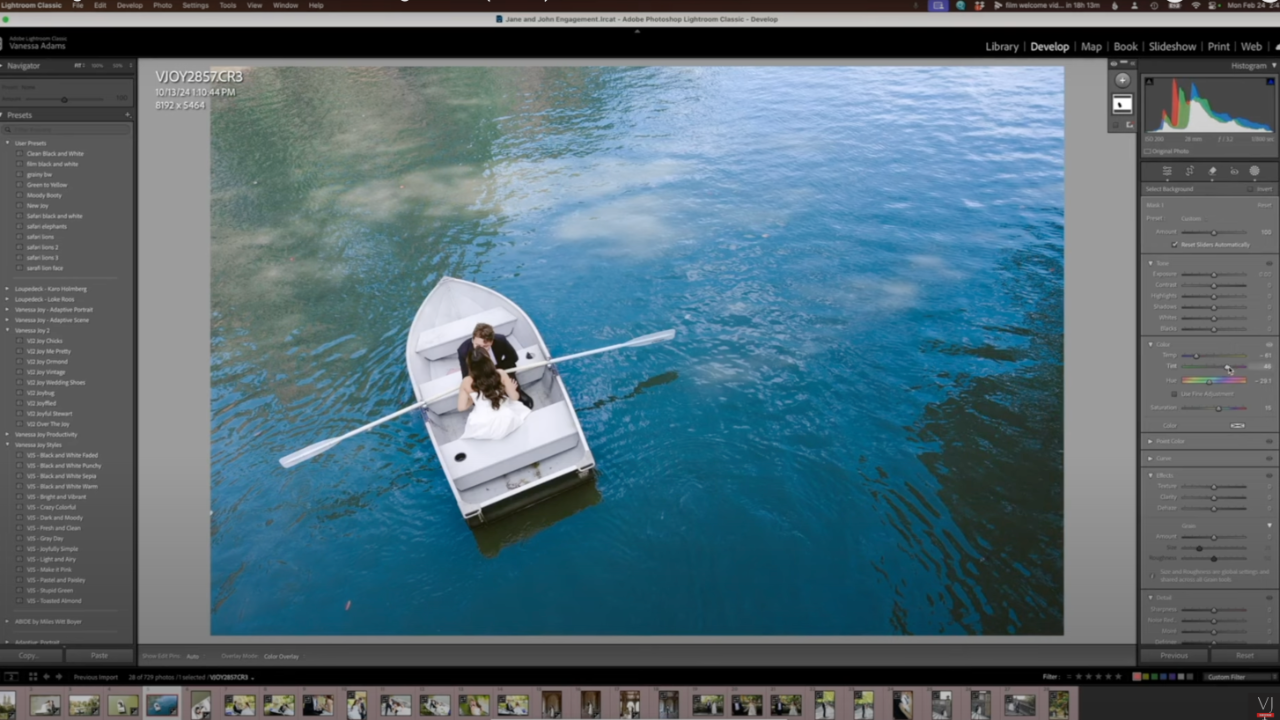
Once you have captured the shots, it's time to edit them. I personally use Lightroom for editing. I start by selecting my favorite photos and then choose a style that suits the mood. I often use the "Joyfully Simple" preset, which adds a touch of vibrance and smooths the skin. To speed up the editing process, I use the same retouching tools on each photo, such as skin smoothing and eye saturation. This streamlined approach saves time and maintains consistency throughout the editing workflow.
Now that you have a better understanding of posing techniques, it's time to put them into practice. Remember to choose the right lens, pay attention to body positioning, and encourage movement. These elements will help you capture natural, flattering, and visually engaging photos.


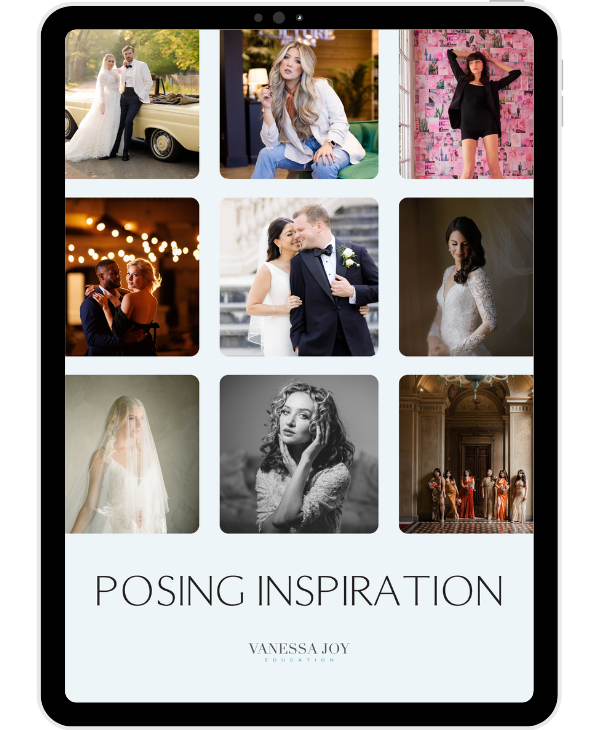
Feel free to download my free posing inspiration guide for more ideas on how to pose for groups and individuals. And if you're interested in my presets, production tools, or local adjustment brushes for quick and efficient editing in Lightroom, check out presets.breatheyourpassion.com or find the link below.

I hope these insights and tips have given you a better understanding of posing techniques and how they can elevate your photography. Remember to experiment, practice, and have fun with it. Happy posing!


