AI photo selection that doesn't SUCK??? | Imagen AI Culling Studio Review | REAL Engagement Photos
ai software english photography tips
Truth be told, I cannot sleep. It’s almost midnight here in New York City. I just got back from the Comedy Cellar, one of my favorite places in the city. It was a blast, but now I’m back in my hotel room and wide awake. It might be because I’ve been thinking about this engagement session I shot this morning. I wanted to try out Imagen AI’s new Culling Studio. I haven’t tried it out before, so do you want to try it with me at midnight? Alright, here we go!
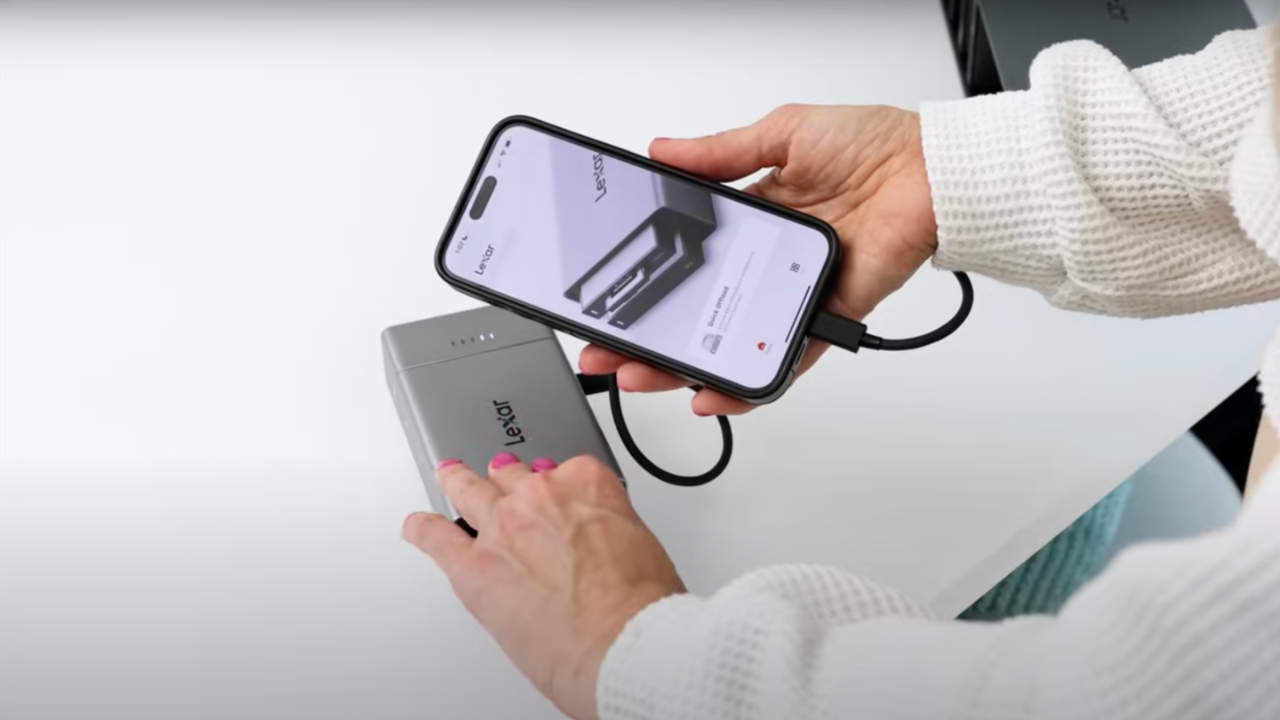
First things first: uploading the photos. I’m using my Lexar SSD drive to upload the raw files from the engagement session. Even though it wasn’t a wedding, it still counts for testing purposes. I have my Overjoy Weddings AI profile, but for this, I think my Overjoy Portraits profile will be a better fit. It’s interesting because this AI lets me cull with edited previews, so I’m not just staring at raw files trying to guess how they’ll look after editing.


I shot 207 photos during a 20-minute session because the couple was 40 minutes late and had to rush off to work. Normally, I’d take around 500-600 photos for an engagement session, but we made do with a speed session. The upload is done, so let’s get to the culling part.
While Imagen AI is doing its thing, I’m going to grab a drink and maybe catch up on some Bridgerton. By the time I’m back, the culling is done! That was fast. Now, let’s review the results.
I’ve used various AI culling systems before and honestly, I’ve hated them all. But let’s see how Imagen AI Culling Studio holds up. The interface is user-friendly, with keyboard shortcuts for everything, which speeds up the review process significantly. You can filter for Keepers, Standalones, and Duplicates. I’ve got 50 Keepers, 119 Duplicates, and 38 Standalones. Not bad for a quick session.


The AI did a decent job grouping similar photos, making it easier to compare and select the best ones. I’m going through each photo, assigning ratings and labels using the shortcuts. It’s pretty intuitive. I might be a bit obsessive about seeing every single photo, but overall, the AI’s choices make sense.
After narrowing it down to 108 photos, I’m ready to send them for editing. This is where Imagen AI really shines. You can adjust various settings like straightening, skin smoothing, and more before finalizing the edits. This batch of 108 photos costs me $7.58, which is quite reasonable.
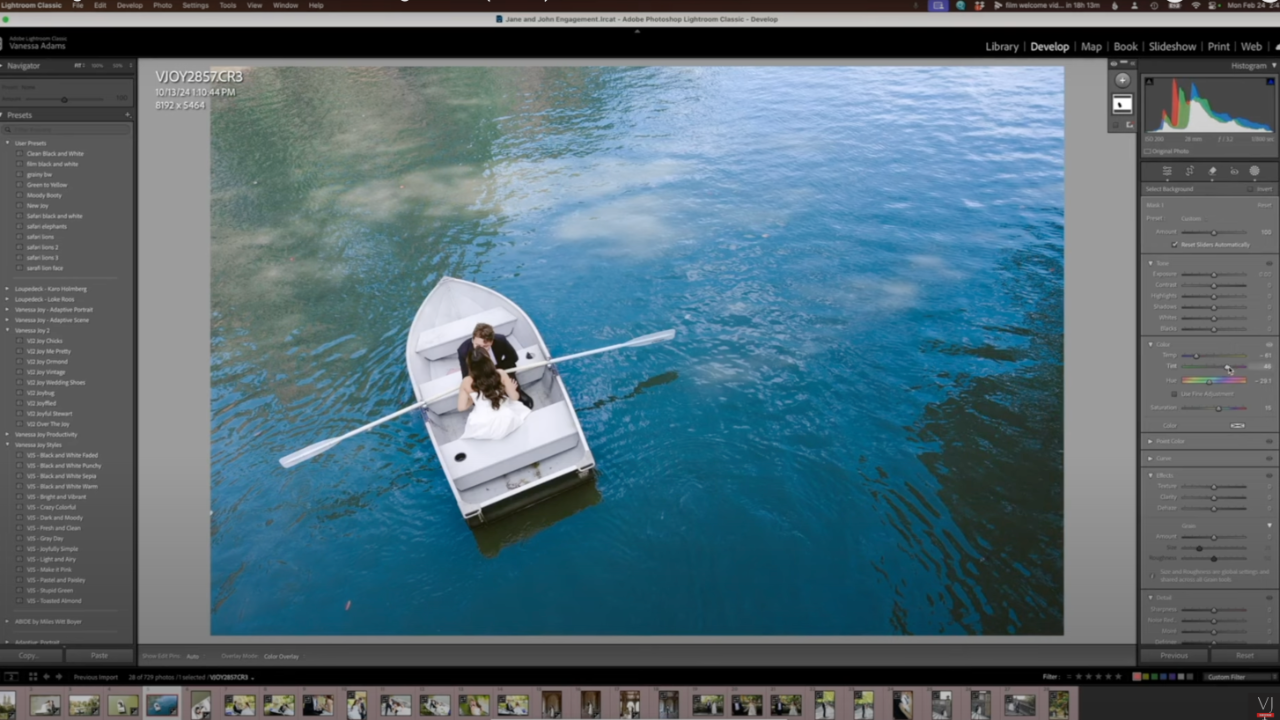
Once the edits are done, I download the photos and open them in a new Lightroom catalog. I did get a bit sidetracked, but after reviewing the edits, I made a few tweaks. The AI edits were solid, but I added my personal touch to match the specific vibe the client wanted. I always make virtual copies for black-and-white conversions and specific adjustments.

In total, it took me about an hour of actual work to review and finalize the edits, not counting the initial learning curve. Considering this was my first time using the Culling Studio, it wasn’t too difficult to get the hang of it. I’m pretty picky when it comes to culling, but Imagen AI made the process more efficient and less tedious.
Overall, I’m impressed with Imagen AI Culling Studio. It’s intuitive, efficient, and makes the whole culling and editing process smoother. If you’re a photographer looking to save time without sacrificing quality, give it a try. Now, it’s definitely time for bed. See you next time!
Categories
All Categories ai software budget photography chinese simplifed color calibration confessions english flash photography hindi language maternity photoshoot photo talk photography gear photography humor photography tips posing + portraits spanish latin vanessa vlogs weddings wildlife photography
