Easy Outdoor Flash Photography: A Step-by-Step Portrait Photo Tutorial

Are you an aspiring photographer looking to master outdoor flash photography? If so, you've come to the right place! In this step-by-step tutorial, we will guide you through the process of using off-camera flash to create stunning outdoor portrait shots. Whether you're a beginner or an experienced photographer, we'll cover the essential techniques and gear you need to achieve professional-looking results.
1. Gear Setup
To get started, you'll need some essential gear. Here's a list of what we'll be using in this tutorial:
- Profoto B10 flash
- OCF2 line modifiers (full and half CTO gels)
- Canon EOS R camera with RF lens (20-72.0) and EF lens (135 2.0 with adapter)
- Lastolite reflector
- Manfrotto stackable stand
- Profoto OCF softbox (two-foot Octa)
2. Finding the Right Lighting
The key to successful outdoor flash photography is finding the right lighting conditions. Ideally, you should look for a shaded area to have more control over the light and avoid fighting with harsh ambient light. For a natural look, consider shooting during golden hour when the sun is low and provides soft, flattering light.


3. Creating Backlit Portraits
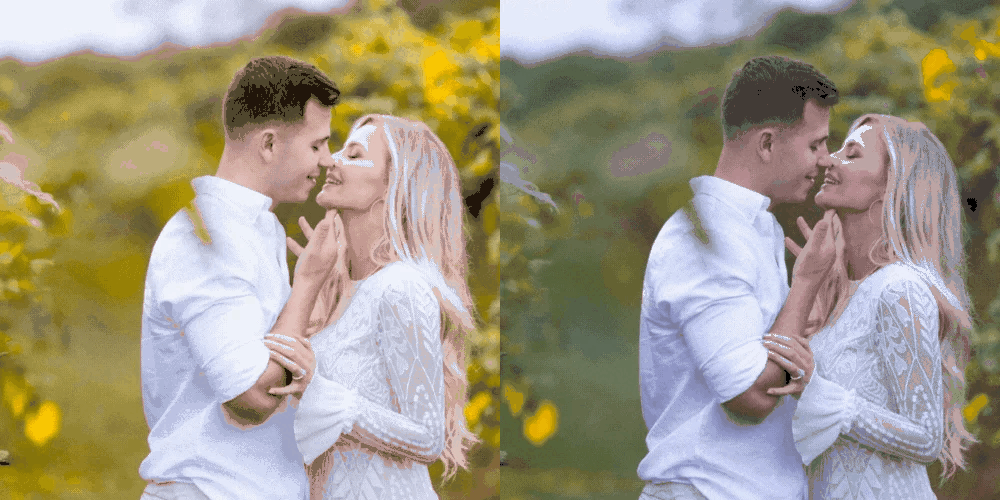
One of the easiest ways to use off-camera flash outdoors is to create beautiful backlit portraits. Here's how you can do it:
- Position your model in a shaded spot with a background that allows light to shine through, like foliage or trees.
- Place the Profoto B10 flash with a CTO gel some distance away from your model. Angle it in a way that the light spreads across the entire background, simulating a sun streak.
- Set your camera's exposure without the flash, ensuring a proper balance between ambient light and flash output.
- Turn on the flash and use TTL mode to let the technology set your initial exposure. Fine-tune the flash power and color temperature to achieve the desired effect.


4. Using Reflectors for a Natural Look
If you're shooting without an assistant, a reflector can act as a second light source to create a natural-looking portrait. Here's how you can do it:
- Position your model with the sun hitting the back of their head.
- Hold the Lastolite reflector on the opposite side of the sun, catching and bouncing light onto your model's face.
- Adjust the angle of the reflector to achieve the desired level of fill light and catch light in your model's eyes.


5. Soft Front-Lighting for a Dramatic Look
For a more dramatic look, you can front-light your subject using the Profoto OCF softbox. Here's how to do it:
- Attach the softbox to your Profoto B10 flash using the color-coded speed ring.
- Position the softbox close to your model to create a soft and flattering light.
- Adjust the flash power and white balance to achieve the desired effect.

6. Experimenting with Different Lenses
Try switching between lenses to create different effects. A wide-angle lens (20-72.0) can create a dreamy and hazy look when paired with backlit portraits, while a longer lens (135 2.0) can create a more natural and compressed look.
Conclusion
With the right gear and techniques, outdoor flash photography can elevate your portraits to a new level of professionalism. Experiment with different lighting setups, reflectors, and lenses to find your unique style. Remember to practice and refine your skills, and most importantly, have fun while capturing stunning outdoor portraits with ease!
We hope you enjoyed this easy outdoor flash photography tutorial. Now, go out and capture breathtaking portraits with confidence! Happy shooting!


