Photography Reflectors: Watch this first BEFORE YOU BUY! (Tutorial Photo Shoot)

As a wedding and portrait photographer in the New York and New Jersey area, I wanted to talk to you about the different types of reflectors and what they're used for. Reflectors are one of the most important tools for a photographer and potentially the least expensive but the biggest advancement to your craft.
The first reflector I want to talk about is the Halo Reflector. It is the perfect option for travel photographers or professional photographers who are working solo without an assistant. The Halo Reflector is compact and can easily fit in your pocket. It comes with a variety of different skins, including silver and white, gold and silver, and more. You can also attach it to the top of a light stand or hand-hold it while shooting.

The second reflector I want to discuss is the Tri-Grip. This reflector is your friend if you're working solo and need to hold your own reflector. It has an eight-in-one design, so you can get all types of different skins, including a diffuser. The Tri-Grip also has a nice hand grip, which allows you to keep it stable and on your hand. You can use it to block light or to diffuse light, depending on the situation.


I hope this blog post has been helpful in giving you an idea of the different types of reflectors available and what they're used for. If you want to learn more about photography, please hit subscribe and ring the bell to get notifications. I have a lot of photography videos here, with lots of new gear talk, and I think you'll like it!
Photography is all about capturing the perfect shot and making your subject look their best. One of the biggest challenges when shooting is dealing with bright, direct sunlight. But with the right gear and techniques, you can turn that harsh light into beautiful, soft light that flatters your subject.
I love shooting with my 135mm lens, and one of the benefits of having an assistant is that they can hold the reflectors for you, so you don't have to worry about getting close enough to use them yourself. I'm using a Canon control ring mount adapter EF EOS R to mount my EF lens on my camera. This allows me to get the perfect shot and make the most of my gear.

When shooting head and shoulder shots, I often use a smaller reflector to light up my subject's face. However, if I need to cover the whole body, that's where my skylight reflector comes in. This reflector is compact and easy to assemble, and it allows me to create a full-body scrim. It's great for shooting groups, weddings, or any situation where you can't hide from the sun.
The skylight reflector is also versatile, as it comes with different skins, including a translucent diffuser and a gold-silver combo on one side and a shiny white on the other. I like to use the gold-silver combo on my subject's face for a fun and unique look.

Setting up the skylight reflector can take a little bit of time, but it's worth it. Once it's set up, you have a level of control that many photographers don't have, and it will definitely set you apart from the rest. Just make sure to set it up before your clients arrive or have an assistant do it while you're off doing something else.
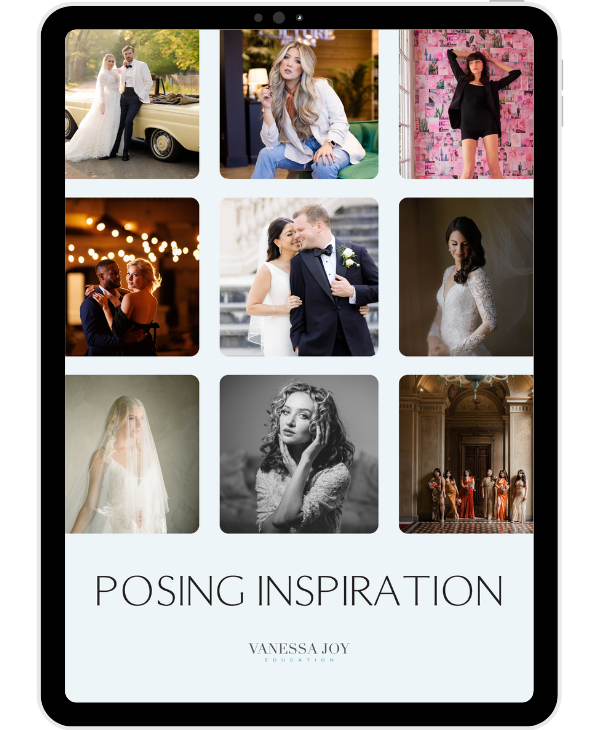
In conclusion, I hope these tips and tricks help you get the perfect shot, no matter what the lighting situation. Don't forget to download my free inspiration guide for even more ideas on how to pose groups and individuals. Happy shooting!
Are you ready to stop guessing and start growing your photography business with proven strategies?
My Mastermind program is designed for photographers who want to scale, find freedom, and build a business they truly love. Inside, you’ll get personalized coaching, step-by-step guidance, and the community support you need to thrive.
See if it’s the right fit for you: https://www.breatheyourpassion.com/photo-insiders-mastermind-optin

Want my Lightroom Presets? Here's your way to the shop: https://vanessajoy.samcart.com/products/the-complete-editing-bundle
